Kindly give this Steel Roofing Generator available here (Version 2 ) a try.
It uses Design Script to place roofing sheets (profile options available), ridges, hips and valley gutters on sloped roofs with just one click (to select)
There is an elaborate step by step instructional video made available.
Looking forward to some feedback and suggestions for improvement.
Thank you.
Files: SteelRoofingGenerator

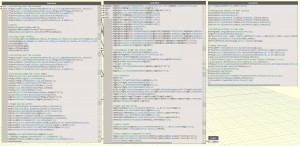
A peek into the innards of the custom node that generates the Roofing sheets on selection of a Revit roof object.
Might be significant to note that more lines of code were required to address finer issues (like having only the hip elements project a little beyond the roof edge) than for the roofing sheets themselves.
Suggestions on improving the approach to make the code more efficient are welcome. Thanks.
Files: SteelSelect Dynamo Roof & Ridge Tool Beta Version Version 2
1 Like
Hi Vikram, Tried to download this file and am getting an eror file no here??? Could you send file to khbrambledene1@gmail.com, i will leave feedback for you
Thanks
kevin
@samzachils Files aren’t hosted anymore at the link provided above.
The files posted below were originally created in version 0.8
RoofingSheet.rfa (356 KB)
SheetsOnRoofSurfaces.dyf (32.3 KB)
RoofingProfiles.dyf (21.8 KB)
- Copy the downloaded (.dyf) files to the following folder C:\Users< username>\AppData\Roaming\Dynamo\Dynamo Revit\2.0
- Open the Revit project file to which the roofing sheets need to be added
- Load the provided Revit family file RoofingSheet.rfa
- Ensure that in Project units, the Length units format is set to millimeters (mm)
- Launch Dynamo through Revit and create a new Dynamo file
- In Dynamo, at the bottom left, switch from Automatic to Manual execution mode.
- Tile the Revit and Dynamo windows besides one another and from the node library in Dynamo click on the required nodes on the canvas
- In Dynamo, add Select Model Elements node to the canvas and make connections.
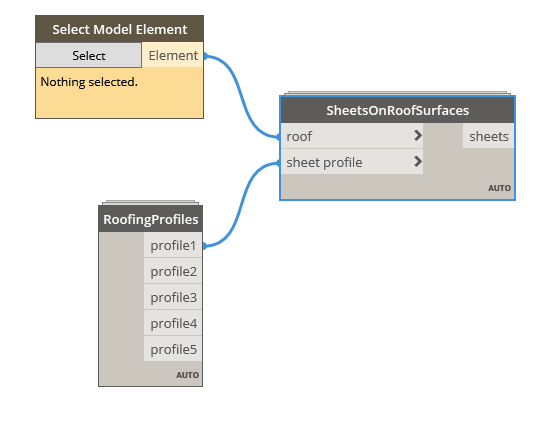
- In Dynamo, click the Select button on the Select Model Element node and move the cursor to the Revit view to select.
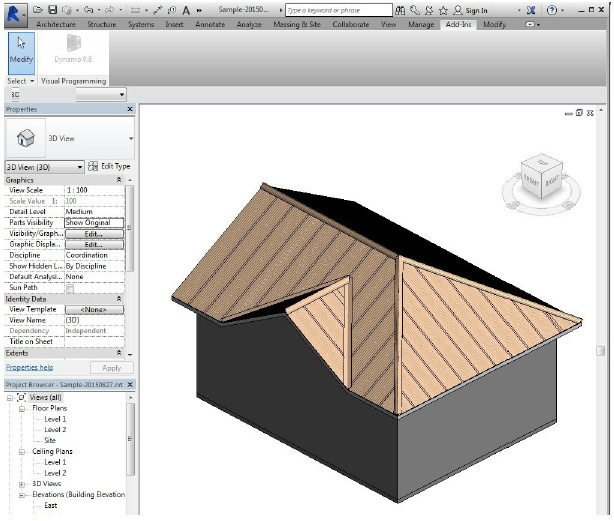
- In the Revit view, select the roof and in Dynamo, click on Run (at the bottom left)
- Roofing Sheets along with ridge, hip and valley elements are generated.
- Materials can then be assigned to the element types generated.

4 Likes