Hello,
I know we cannot split walls directly as the Revit API does not have access to the split command. So I am following a workflow to create new walls based on the curves obtained by dividing the curves of existing walls. What I want to achieve is pretty simple - divide a wall into two where it is being intersected by another wall. Illustrated in the images below:
Above images depict a simple example but I want to do it for a larger project with multiple walls and wall types.
I tried using two methods:
Using Element.Location to get the Wall Curves and Endpoints and then splitting the curve using the nodes below:

Another method I tried was using Bounding boxes of the walls and getting the intersection and trying to split the curve using that.
After I obtain the new curves, I create new walls on it as you have suggested, mapping the properties of the existing wall and then deleting it.
However, in both the cases I do not obtain the desired result. Am I doing something wrong or is there a better way to do this?
Hard to diagnose the issues with the information given but…
My guess is that you haven’t filtered your list of points based on if they are colinear with the host line of adjacent walls.
The curve.Split By Points node can do some weird stuff as it pulls every point into the line that you are trying to split at an angle perpendicular to the line. I’m assuming you are running into this exact issue. Try building the graph below to illustrate this behavior - the top line is what I suspect you are doing, and the bottom line is what I think you’re trying to do.
Hello Viraj
You can try the script attached. You need dominadynamo package (and others). You might have some truble with doors and windows with Revit versions not in spanish but it should work fine if you don´t have any.
You have to run the script twice. The first time the boolean node in orange must be in “False” and the second time in “True”
dividir muros en interseccion_r.dyn (57.3 KB)
Hello @Joan_Moreto ,
Thanks for your help. While your node did not directly help with what I was doing, I could modify it and solve my problem. The dominadynamo package does contain some helpful nodes. Good work.
Hello @Joan_Moreto
i just tried the script but it is not working on some certain stage. 
Hello @Arsany123
I would need to see the input data in the wall.ByCurveandLevel node to tell you what’s going wrong with that node (you can use Watch nodes and I suggest to show the entire script).The error with the Element.Delete node is probably due to differente Revit and Dynamo versions. Which version do you have?
Hello @Joan_Moreto
first of all sorry for my very delayed reply but i was at sick leave . i just would like to continue the issue and try to solve it . the script is running will and it split the wall but the problem is it deletes the original wall with any hots with it (Doors & windows) i believe that cause of the dynamo script is in Spanish.i would like to know when you run it at your computer the doors and windows hosts will be transferred to the new walls or not ??
Thanks a lot
Hello @Arsany123,
Yes, you should get doors and windows in the new walls (they might be flipped but in the same position). It´s probably related to the language. You can try this file which should work with Revit in english:
dividir muros en interseccion_ENG.dyn (60.2 KB)
Hello @Joan_Moreto
first of all i would like to thank you for your intensive support. i just tries the script in English it doesn’t work then i found some nodes still in Spanish so i converted into English but it doesn’t work too . i attached the script after converting the rest of the nodes to English and the Revit file .
thank you so muchdividir muros en interseccion_ENG(1).dyn (47.5 KB)
Hello @Arsany123,
Could you please show a screen shot of the script with the error messages?
Hello @Joan_Moreto
Kindly find the attached screen shots and after running the script there are two objects appeared highlighted in screen shot number 8
Hello @Arsany123,
I think that your issue has to do with units. Length units in the Revit model have to ve set to meters. On the other hand the “Element.Delete” node is not working. It belongs to a pretty old version of archi-lab.net package and might be deprecated, but should be able to get some equivalent node depending on your Dynamo version. It´s also important to make sure that the walls have a t¡Top Constraint.
Try to make this changes and see if it works.
Hello @Joan_Moreto
Thanks a lot for your support and i really appreciate your help. indeed it works and the problem was that my project was in millimeter that is why it didn’t work. i tried a lot to run the script when the project units is millimeter but it didn’t work and when the doors and windows will be replaced in the new wall after split some of the instance data of the doors,windows and walls has been lost but i think there is no solution for that cause it will be considered as new elements that is why it reset the instance information.
again thank your for your intensive support.
Hi Thanks for the support you have provided. As I was working with this program, it work perfectly for single level building model. But here’s the issue, when I ran the program for building model with 2 level, the wall are able to split and the family which is the windows on level 1 didn’t get any of the error but for the level 2, the windows got somehow deleted and at first I thought it might be the sill height of the windows at second level because the base constraint might be taking from the base of level 1 which I tried to add the elevation value into the sillheight and still unable to work it out. Im not sure is my assumption is correct but any help here will be great.
Hello,
Have you tried running the script level by level on plan views instead of on a 3D view? That way it would only take walls in the active level and might solve some problems. Anyway the issue should have nothing to do with Sillheight parameter since the base level of the new windows should be the same as old ones. It´s more likely to have something to do with packages or nodes since some of them are pretty old and might have been changed or updated.
Hi, sorry for the late reply, I had just tried your advice, level 1 seem to be working well but when I start running the program for level 2, the program just delete the windows and the funny thing is it also deleted away my level 1 windows.
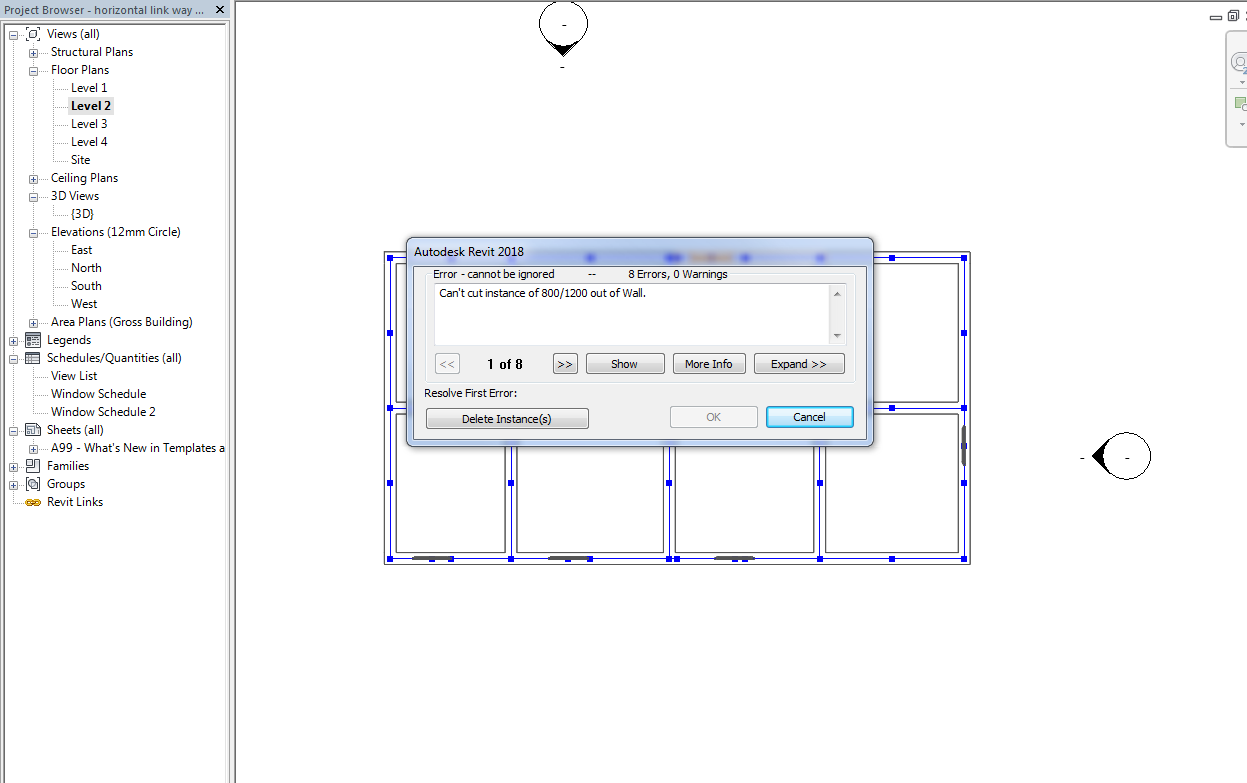
I also tired using false and true again for level 2 and it still give me the same result. or did I created the building wrongly that’s why level 2 plan view can take level 1 windows? If I use ceiling plan it delete the window without giving me error but if I use floor plan it came out the error base on the pic attach below.
I have also tried using all element at level node so that I only extracted element for that particular level but the end result is still the same, no warning but delete the windows from level 2 onward
So I guess is after trying many methods, yes It seem like the packages like u said are pretty old and might have been changed or updated as it is able to create wall but it didn’t replace the windows to the new wall created.
If you would be able to run the script in Dynamo player, i think it would work better.
I think you have a problem with element binding if you run the script in Dynamo player that will be solved.
Hi @Marcel_Rijsmus , after trying your suggestion, the outcome remain the same but thanks for the advice too. appreciate your helped. the problem now is that the windows at level 2 are unable to replace at the new wall created. the reason why the windows got erase is because it belong to the original wall that was being deleted after creating new wall at the intersection.
I just saw there is an error with one of the nodes in my package which is probably the reason why you are not getting windows on level 2. You can get this node and substite the one with the same name in the package
Puertas_Ventanas en Puntos_n tipos.dyf (21.9 KB)
The reason for loosing windows in level 1 (only with the floorplan view) is possibly that you have level 1 as underlay in level 2, so the scripts selects its walls al windows too. Try setting the Underlay to None and check if it works.
Othe thing you can do is change the node “All elements in active View” for “All Elements at Level”.
Hi yes it did work. Thanks a lot for your helped. but one slight problem which is quite a headache to solve as the custom nodes u attached be it the old and the latest one you have attach, when the windows “point” trying to find the intersecting point of the wall, it actually reorder the point base on the wall that are also being reorder. although it is not affecting the window point at that particular wall, it is actually affecting the order of the sill height and the family being place at the new wall…
Before running the program
After running the program