As your curve is non-planar, you’re going to need to clean it up before importing into Revit. One way (I used this archaic program called Microstation to do this) is make the curve continuous, then extract the points from the curve. Extrude the points into lines, then link into Revit. Extract the curves and get their start points. As the points are not necessarily going to be in the correct order and trying to order them is a like trying to get Dynamo to crack a CAPTCHA., that’s your next problem.
A simple way to get around this problem is to create a polycurve (as it orders the curves), extract its subcurves and get the endpoints. So, link the original file and explode it so the model lines are imported to the Revit base plane. Create a polycurve using these lines, extract the curves and get the endpoints. Now its just a case of projecting the points by brute force (or rather by cross-product) up to the start points of the pre-prepped import, then build the polycurve again. This only works as your curve is facated. If it was curved then this solution isn’t appropriate.
Pre-production:
Rebuilt in Dynamo:
-
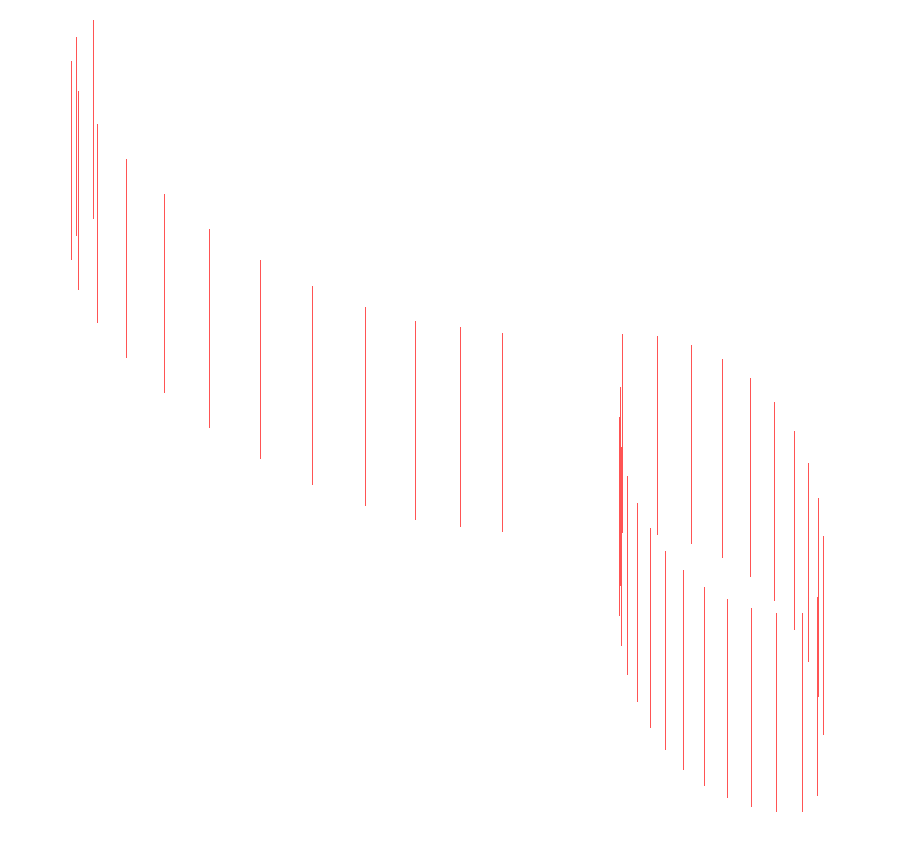
Import into Revit and convert the lines, then get their start points.
-
Link your original file and explode. Convert to a polycurve then extract the now ordered curves. Extract the endpoints not forgetting to add the start point of the first curve to the front of the point list. This is now an ordered list of points:
-
Create a target to project the ordered points to (i.e. the start points of the vertical marker lines). I used a circle which was then converted to a surface.
-
Project the points to the targets using cross product lacing (so all targets are tested against each point).
-
Flatten the list, clean it, then build the polycurve:


Here’s the graph:
