Creating Wall.ByCurveAndHeight with Python Code

I am trying to create walls with Python code (similar to Wall.ByCurveAndHeight, but with more controls: check if similar wall is already in place, add location line, join, flip, etc).

The walls are created correctly in Revit ok, but each time I run it, it creates 2 sets of walls on top of each other.

Any ideas why?

I can try to package a code if it helps.

Bonus question: Also, is there any way to handle/ignore errors or warnings (out of axis, wall join errors) directly in the code?

Full code with, with some unrelated features removed:

import clr

clr.AddReference(‘ProtoGeometry’)
from Autodesk.DesignScript.Geometry import *
#The inputs to this node will be stored as a list in the IN variables.
dataEnteringNode = IN

#FOR XYZ CONVERSION
clr.AddReference(“RevitNodes”)
import Revit
# Import ToProtoType, ToRevitType geometry conversion extension methods
clr.ImportExtensions(Revit.GeometryConversion)

# Line, Wall, etc
clr.AddReference(‘RevitAPI’)
import Autodesk
from Autodesk.Revit.DB import *

#Document and Transaction
clr.AddReference(“RevitServices”)
import RevitServices
from RevitServices.Persistence import DocumentManager
from RevitServices.Transactions import TransactionManager

doc = DocumentManager.Instance.CurrentDBDocument

max = 20

base_height_off = 0
join_walls = True
flip_walls = True
is_structural = False

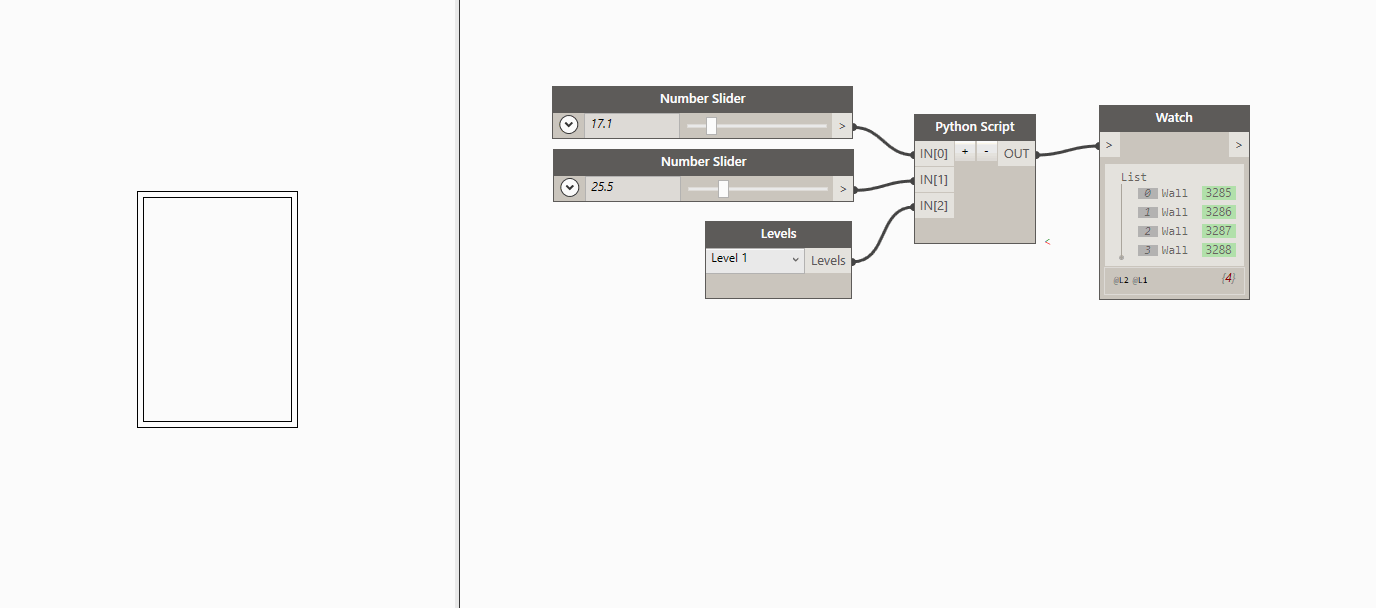
curves = IN[0][0:max]
heights = IN[1][0:max]
levels = IN[2][0:max]
wall_ts = IN[3][0:max]

#t = Transaction(doc, ‘Add Wall DH’)
#t.Start()
#t.Commit()

created_ids = []
created_uids = []

all = (curves, heights, levels, wall_ts)
all_set = map(list, zip(*all))

t_len = [len(x) for x in all]
if len(set(t_len)) > 1:
OUT = ‘Failed. Number of items not equal’
else:

#TransactionManager.Instance.EnsureInTransaction(doc)
t = Transaction(doc, ‘Add Wall’)
t.Start()


counter = 0
for curve, height, level, wall_t in all_set:

st_pt = curve.StartPoint
end_pt = curve.EndPoint
line = Line.CreateBound(st_pt.ToXyz(), end_pt.ToXyz())

wall = Wall.Create(doc, line, ElementId(wall_t.Id), ElementId(level.Id), height, base_height_off, False, is_structural)


if not join_walls:
WallUtils.DisallowWallJoinAtEnd(wall, 0)
WallUtils.DisallowWallJoinAtEnd(wall, 1)
if flip_walls:
wall.Flip()

location = wall.get_Parameter(BuiltInParameter.WALL_KEY_REF_PARAM)
location.Set(5)

mark = wall.get_Parameter(“Mark”)
mark.Set(str(counter))
counter +=1

created_ids.append(wall.Id)
created_uids.append(wall.UniqueId)


t.Commit()
#doc.Regenerate()
#transactionManager.Instance.TransactionTaskDone()

OUT = [created_ids,created_uids]

2 Likes

Hi, Do we have clean code for this?. I got a bit confused by all this #ffff etc…

Hi @Michal_Dengusiak
I think it got messed up when they migrated the content from the old forum…
Unfortunately, I don’t think I have this file anymore,
but if you need it and can’t get it to work, post back and I we can work through it

Hi @Gui_Talarico
I am trying to make walls (house) from Python so the only input is number of walls,
I want to understand this process well.
My idea is to learn step by step.

  1. I want to creat lines and after each step rotate vector in my for loop
  2. as second step I want to create.wall from python so do not have to use all other nodes
  3. I want to better understand what we need to load at start so line 1 to 16?
  4. how to use Transaction?, this is missing I guess need to use it when generating wall
    I guess four points is a lot but maybe can help me with one…

here is my current progress…
Home2.dyn (14.6 KB)

import clr
clr.AddReference('ProtoGeometry')
from Autodesk.DesignScript.Geometry import *

# Import RevitNodes
clr.AddReference("RevitNodes")
import Revit

# Import Revit elements
from Revit.Elements import *

# Import DocumentManager
clr.AddReference("RevitServices")
import RevitServices
from RevitServices.Persistence import *
import System
#The inputs to this node will be stored as a list in the IN variables.
#
NumbWalls = UnwrapElement(IN[0])
height = []
LineList = []
LineList1 = []

count = int(NumbWalls)
VectA = Vector.ByCoordinates(0,1,0)
#TransactionManager.Instance.EnsureInTransaction(doc)
for i in range(count):
	#height = (i+1)* 1000
	height.append((i+1)* 1000)
	ptA = Point.ByCoordinates(i*1000, 0, 0)
	ptB = Point.ByCoordinates((i+1)*10000, 0,0)
	LineList.append( Line.ByStartPointEndPoint(ptA, ptB))
	LineList1.append( Line.ByStartPointDirectionLength(ptA,VectA, 5000))
	#VectA = Vector.Rotate(axis, 90)
	
#W = Wall.Create(doc, LineList, True)

#
#Assign your output to the OUT variable.
OUT = LineList1, height

hey @Michal_Dengusiak

I am trying to make walls (house) from Python so the only input is number of walls,

Sorry, I am not sure I understand your goal.

Where would walls be placed? Or how long would they be?
Are they inserted side-by-side (parallel), or arranged in around rectangle/polygon? You mentioned rotating the vector: what angle?

In the meantime, below is example that creates a walls using just Revit API calls, in a rectangular shape using width and weight as inputs. I hope it helps.


Comments on your points:

I want to creat lines and after each step rotate vector in my for loop

Not sure if you need a vector. You might be able to just use coordinates as in my example.

I want to create.wall from python

Take a look at Revit API’s Wall.Create Methods. The example uses this one

I want to better understand what we need to load

I think my example uses only what’s needed. My advice is not avoid using from X import *
and at least for a while, try writing your imports one by one manually, and import only what you need, until you understand them. When from X import * is used, it makes it hard to understand where things came from.

how to use Transaction?, this is missing I guess need to use it when generating wall

Yes, you always need to be within a Transaction to anything that makes changes to the Revit Model/Database (ie create a new wall).
In Dynamo that’s done by with TransactionManager. Read through this if you haven’t’.

Simply put, something like this:

# Start Transaction
TransactionManager.Instance.EnsureInTransaction(doc)
# >>> Do stuff that makes changes to the model
# End Transaction
TransactionManager.Instance.TransactionTaskDone()

Example

import clr

clr.AddReference("RevitNodes")
import Revit
clr.ImportExtensions(Revit.Elements)

clr.AddReference("RevitServices")
import RevitServices
from RevitServices.Persistence import DocumentManager
from RevitServices.Transactions import TransactionManager
doc = DocumentManager.Instance.CurrentDBDocument

clr.AddReference('RevitAPI')
from Autodesk.Revit.DB import XYZ, Line, Wall

width = IN[0]
height = IN[1]
level = UnwrapElement(IN[2])

pt1 = XYZ(0, 0, 0)
pt2 = XYZ(width, 0, 0)
pt3 = XYZ(width, height, 0)
pt4 = XYZ(0, height, 0)

pts = [pt1, pt2, pt3, pt4]
walls = []

TransactionManager.Instance.EnsureInTransaction(doc)
for n, pt in enumerate(pts):
	try:
            wall_line = Line.CreateBound(pt, pts[n+1])
	except IndexError:
            wall_line = Line.CreateBound(pt, pts[0])
	wall = Wall.Create(doc, wall_line, level.Id, False)
	walls.append(wall.ToDSType(False))

TransactionManager.Instance.TransactionTaskDone()	

OUT = walls
3 Likes

Thank you very much for deep explanation. Additional questions:

  1. why we use wall_line = Line.CreateBound(pt, pts[n+1]) and not ie. [this]
    (http://www.revitapidocs.com/2017/da8be410-f630-3384-e203-32b81cd0e90c.htm)
    CreatBound is not clear for me… but maybe need to get used to
  2. In my case I want to use it as battlefield for daughter to draw some shapes so she can calculate angles and draw labyrinths etc… ie. triangle will be (draw curve length 10m, rotate angle -130deg, draw curve length 10m, rotate angle -130deg, draw curve length 10m ) and in next step I can introduce loop 3 times etc… to be fair we learning python together…
  3. TransactionManager, I noticed that I can run only once and then need to close Dynamo open and run a second time. Is this normal way that Dynamo create an objects, just once?.
  4. How do you make your .gifs videos?

I like this method for creating walls so I need now way to create curves.
I think I need to find method to create curve (vector direction, length) so can control direction and distance.

  1. The link you posted uses the Create Method of the BRepBuilderEdgeGeometry Class. Not sure how you would use that.
    I am sure there are other ways to do it, but then, there are ALWAYS other ways to do it :slight_smile:
    The method I used is what I see used most often in C#.

  2. Not sure how old your daughter is, but seems to me that Python+Turtle (2) or Processing, would be much more suitable for what you are describing, instead of trying to use Revit+Dynamo+Revit API as a drawing platform. But that’s just me. You may have your reasons :wink:
    Processing is really awesome, and you can actually use Python with it as well.
    Learning Python is fun but takes time (syntax, data-types, concepts, patterns), etc,.
    Learning the Revit API + how to use Ironpyhon to interact with at the same time it’s an even bigger task, so brace yourself.

  3. To be honest, I do most of my work directly in Revit using Revit Python Shell and PyRevit, so I am not as familiar with Dynamo’s TransactionManager. The code worked for me, but it’s possible and likely I did something weird. Maybe someone else can correct it.

  4. I use LiceCap

We are pretty off-topic at this point, so we should probably start new topics for new issues, or move the discussion elsewhere :slight_smile: Feel free to dm me

Hi,

is it possible at all to create walls with only a curve in space and a number defining the height of the wall without using levels?

Hi,
Could you help me by using python or any other code to create wall in Revit using CAD link?