3D Print from Revit

That is amazing stuff

…running in small problem…i have a node geometry.boundingbox and in his view a boundingbox.geometry… now sometimes the order of words change but my result is a cube it is missing the roof.

downloaded the script and still just get a box

If i download the print3D.rvt file and the dyn file.
it runs perfectly…but when i adjust the building and change the roof and change the profile of the walls…the script doesn’t work

Hi Arno,

I think we might want to start a new topic for this…

I’ve had a play and I can’t replicate your difficulties…

Here’s the Revit, see if it works for you?

Hope that helps…

Mark3DPrint-Wonky.rvt (1.5 MB)

2 Likes

i can’t figure this one out…could someone please have a look at my “complex” model…

i really need this.

Arno

Hi Arno,

I downloaded your file, ran the graph, got some nulls from your windows, dropped in a List.Clean node (Orchid is my favourite) and it ran as expected…

Could you elaborate on what your problems were and what you want to achieve?

I posted a graph here which doesn’t try to do any booleaning…
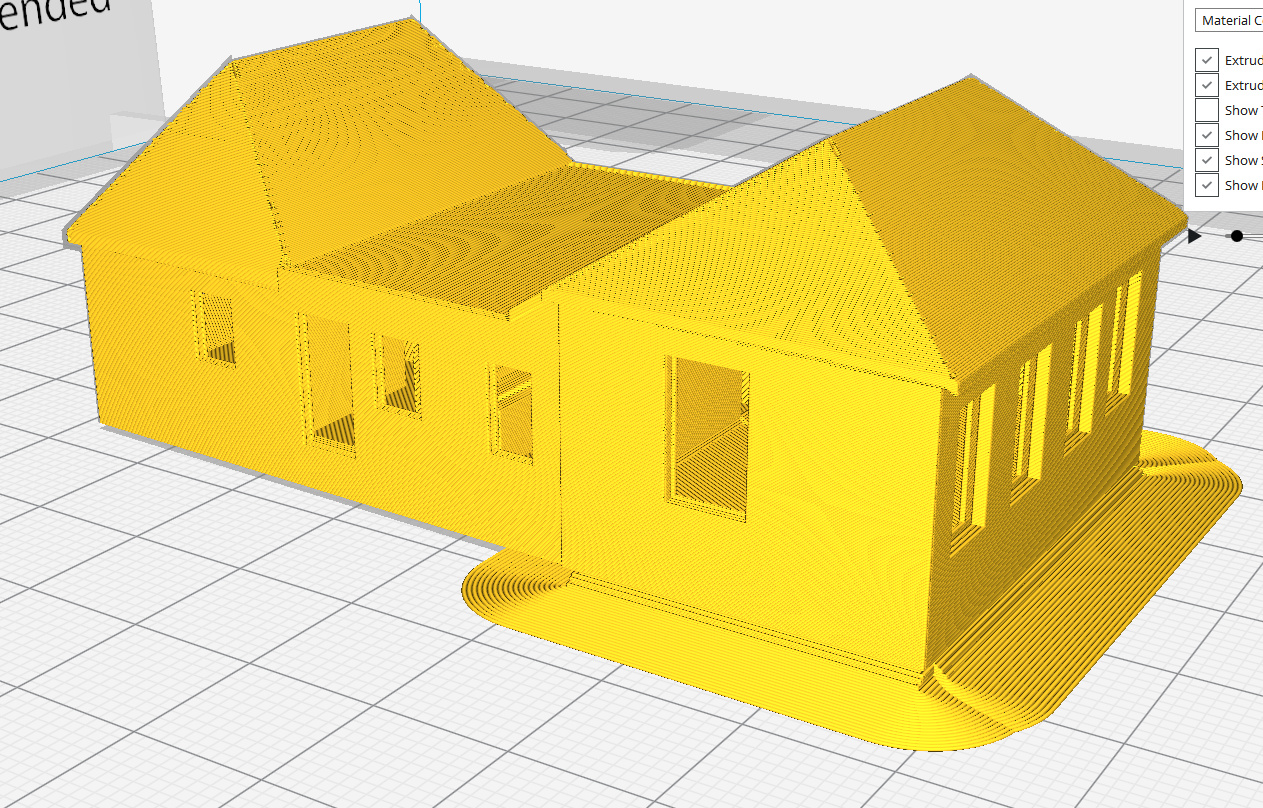
This is it in Cura…

Hope that’s of interest,

Mark

2 Likes

i am trying to get the total volume of the building… it is necessarily for 3D printing

Hi Arno,

Have a look here:

There are a couple of things to note…

  1. You don’t need to boolean everything… I use Cura to print and it does a fantastic job of printing a whole bunch of solids as a single print. This is much more robust than trying to union.

  2. Rooms can be extracted to ‘fill’ the voids to give you a ‘solid’ model.

  3. It isn’t necessary to have a solid model to print. For most buildings the 3D printer can print over empty space and create a floor / roof just resting on the supporting walls. The underside will be quite stringy, but this isn’t usually noticable and allows a skeleton of a building to be printed with actual rooms inside.

Hope that helps,

Mark

Hi @Arno_De_Lange

Which of the volumes do you want?
There is a generic model (in-place mass 430.850 m3 with the same shape) next to the house, and the house itself.

If your house was completely “airtight” (its not) you could maybe create a new model, link the file, create walls a distance away from the house, check the height of the walls then put a room in the space between the house and the walls, set room calulations to include volume, set the link to roombounding and check the difference in volume between room bounding and not roombounding.

1 Like

i want to generate that inplace family automaticly… doesn’ t need to be an inplace family but i need the mass so could also be saved as a family

Is there a reason you need a mass?

I tend to use .stl for 3D printing?

Cheers,

Mark

sorry Mark, i ment it isn’t necesary for 3D printing. I just want the building volume… the 3D printing is a nice extra

@Arno_De_Lange Since you seem to have openings in place of windows, the easiest way might be to delete all doors and windows and run the script. You could always undo and restore the doors and windows.


volume2.dyn (48.5 KB)

1 Like

Agreed…

Presumably windows are modeled with no extrusions so they were as simple as possible… But this means there is no geometry to extract, so the node throws an error…

Best not to include them in the graph. I also added in Rooms (the was an upper floor Room missing in the model)… Then it seems to run correctly?

Cheers,

Mark
3DPrint rooms.dyn (17.7 KB)

Hi and thanks for the previous posts - very helpful.
Today is my 1st day looking into 3d-printing from Revit/Dynamo,… I took the above graph and added a few nodes from the MeshToolKit package and exported an .stl. I used the Revit 2017 sample-file as geometry and tried to add a few more categories. Could only make the “Structural Foundations” (Slab in the parking lot) work. Stairs won’t work and Curtain Wall Mullions/Panels won’t work either. Would be nice if anyone knows how to deal with those items…
Checked the resulting .stl file in Rhino and got a valid mesh with no naked edges.test

2 Likes

Hey,

If I could just point you to my post above…

The key thing for printing is to get something that prints.

Your 3D printing software likely doesn’t care about booleans, as long as they are Solids, it’s fine to print them, so don’t get too hung up on it.

Reviewing in Rhino is a good idea, but the real test is to put it into your 3D printing software and check it.

E.G. Rhino will tell you that the window glass is fine, but actually it is likely too thin to print.
E.G. Dynamo can’t boolean a floor and a wall, but actually the 3D printer is able to print those just fine
E.G. Meshmixer might highlight the underside of floors as not being able to print, but actually the 3D printer can print on empty air and cantilever the threads accross to the wall.

So in sumary, just extract the solids from the curtain walls, foundations and stairs and use them without booleans.

As a side note, you will likely need to amend handrails to be thick enough to print, (you need to think in terms of the physical process of printing more than the virtual world).

Hope that helps,

Mark

3 Likes

Sorry to dredge up a really old post but I’m trying to work out what the point of the code in the green box is:

As far as I can see it just takes a bounding box and subtracts the solids created by the walls, doors etc. So you’re left with a ‘mould’.
But then you take out the solids that are the same as the bit before the green box and join them back together?

Note that the solid with the largest volume is dropped. (The ‘mould’)
The rest now also has the room volumes which wasn’t available in the original selection of elements. This helps create a ‘solid’ mass.

1 Like

Thanks for the reply. I’ve tried it with a couple of models but it doesn’t seem to make much difference for some reason.

The model should be water tight. This exercise only makes it solid. If the voids within leak to the outside, it joins the ‘mould’.
Please upload a model, if possible